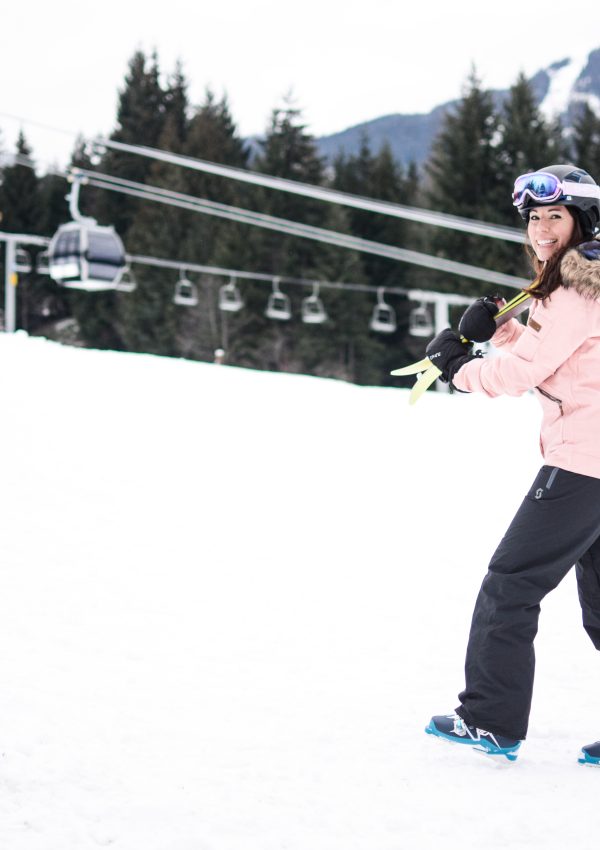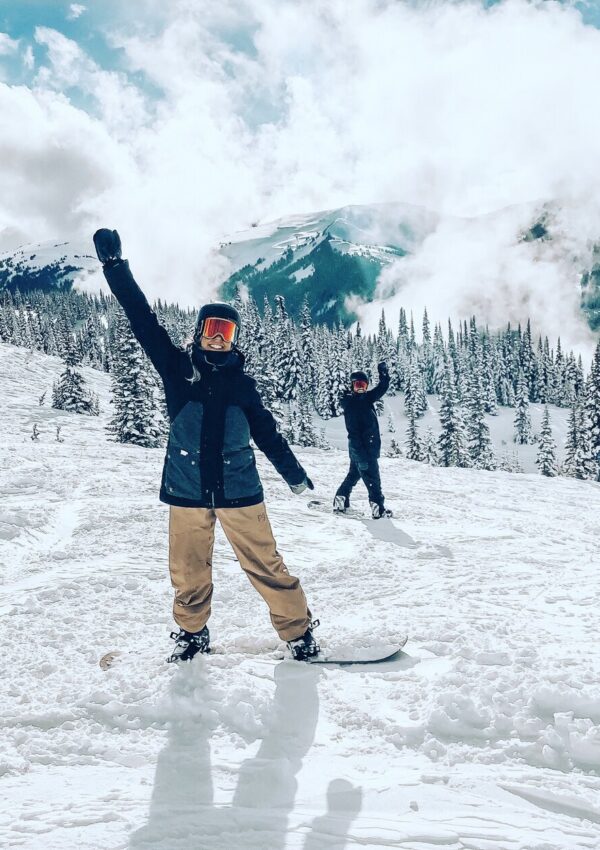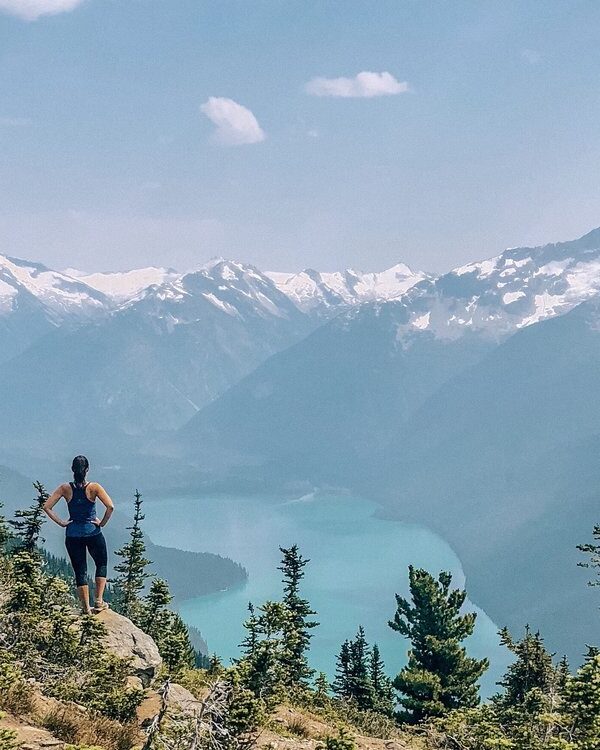
I’ve lived in Whistler for years so you’d think that between snowboarding and hiking, I’d always be ready to hit the hill. Wrong! It takes work to get my legs ready but since I started training with Meagan at Peak Training and including these exercises for skiing, I’ve never felt stronger.
Not sure what to pack on your upcoming ski trip? Get my FREE Packing Checklist.
5 Easy Exercises to Get You Ready for Skiing
One of the first things Meaghan did was establish a routine of foundation exercises for me, which are exactly what they sound like. They focus on the basics so you have a solid (and safe) foundation to build on.
What I love about these exercises for skiing is there’s no equipment necessary (and no excuses either). Let’s get into these five exercises to prepare you for the ski season:
Squats
The squat is an exercise I thought I’d mastered years ago. Until I met Meaghan, that is. She calls it “the king of lower body exercises”, and rightly so. Once she pointed out some weakness and poor habits I had in my squat, it suddenly made sense why I was struggling with other exercises (and injures!). Having sound technique and mobility in your squat is paramount and the perfect place to focus your Foundation!

Stand with your feet slightly wider than shoulder width. Your toes should be pointed approximately 5 to 20 degrees outward.
At the top of the position, engage your core to keep your spine in a neutral position. I’ve had to really work on not overarching my back. Instead, think about ‘bracing’ like someone is going to punch you in the belly, then maintain this core tension throughout the duration of each and every repetition. This alone can feel like a workout!
One of the things Meaghan first told me when we started training together was to imagine you’re “spreading the floor” with your feet to create tension in your glutes. From here, hinge at the hips as you send your butt back slightly, and slowly lower into the squat. Keep your knees in line with your feet so your knees don’t collapse inwards. Another good tip is to match the angle of your spine to that of your shins. This helped me from leaning too far forward and overarching.
Aim to lower yourself until your hip crease is in line with the top of the knee. Go slow and watch your form. Continue to “spread the floor” as you drive down through your heels and press up to your standing position. Remember to keep your core engaged with that ‘bracing’ feeling (I often need to be reminded about this!)


Step Back Lunge
This is basically the single leg version of a squat and it will directly affect your strength and endurance for skiing and riding (not to mention hiking come summer time). One thing I didn’t know was that the working leg should be the FRONT LEG. I used to get a lot of knee pain with lunges and it was from pushing off my back leg.
Again “brace” to engage your core with a neutral spine, shift your weight onto one leg and step back with the other leg by hinging through the hip. Keep your front knee tracking over the outer edge of your foot as you lower yourself with control until your back knee is hovering just above the ground. Your weight should be over the front foot with a slight hinge forward. Again, this encourages utilizing the strength of the front leg to return to the start position as opposed to kicking off the back foot.

Once you’re in your lunge you’ll notice that the position of the squat position and the corresponding angle of your spine to front shin looks very similar to your squat. The back leg is there for support only. To initiate the ascent, drive your front heel down to active glutes and use your front leg to push yourself up to the starting position. Be mindful of your knee alignment and don’t let your knee collapse inwards.

Single Leg Romanian Deadlift
So many exercises and sports focus on quads so this one is important for bringing balance (not to mention injury prevention) to your body by targeting your hamstrings and glutes, which often get overlooked.

The leg you are strengthening is the standing leg, not the one that you are extending behind you. With this in mind, engage your ‘braced’ core with neutral spine and hinge through the hips of the standing leg. With a soft bend in your front knee, push your hips back while reaching down towards your toes. Lift your back leg simultaneously as you lower your chest towards the floor. I always imagine my lifted heel actively pressing out towards the wall behind me and the crown of my head reaching toward the opposite wall. This activation should keep you strong and your pelvis should be level (no rotation).
Press down through your standing heel and contract your glutes as you drive your hips forward bringing your back leg to meet your front leg and returning to your standing position.

Glute Bridges
I know a lot of people think these are weird but I guess with my yoga background I’m just used to them. And they legit work! This was one of the first exercises Meaghan added in regular rotation to strengthen my glutes and protect my knees and low back (which I’ve had issues with for, oh, about 20 years).
Lie down with your knees bent and feet hip distance apart. Brace your core and gently press your knees outwards so that they’re not collapsing in. Heels should be directly under your knees. Press through your heels and contract your glutes as you lift your hips towards the ceiling. Lift your hips high bringing your pelvis into a nice straight line from your hips to your shoulders (no dipping at the hips). Be mindful that you’re not arching your low back but instead tucking your tailbone under and towards the back of your knees.

Slowly lower using your engaged core and glutes.

Deadbugs – great exercises for skiing
Deadbugs obviously don’t work your legs but you need a strong core to make everything else function well so its important to include in your exercises for skiing preparation. I’ve been doing these every week for almost two years and they are still hard! BUT I like having a strong core because it’s alleviated my low back pain (and I can see my abs) so I know they work.

Lie on your back and extend your arms towards the sky as you stack your knees above, and just slightly away, from your hips with shins parallel to the ground. Gently press your low back into the floor and imagine someone trying unsuccessfully to slide their hand under your back.
Keep pressing as you slowly lower one heel to the floor. If you want more of a challenge, extend the leg out then tap your heel to the floor. Return to bent knees and then extend the other leg out tapping the heel to the floor. This should feel challenging and your abs should be working hard. If you want more of a challenge, extend opposite arm as you lower your leg.


New to skiing and snowboarding? Read THIS POST to learn how to navigate Whistler Blackcomb so you have the best ski vacation.
Method for Bodyweight Home Workout Exercises for Skiing:
For all of these exercises, the following is recommended:
Beginners, complete 3 sets of each exercise for 8-15 reps.
Intermediate, complete 4-5 sets of each exercise.
Advanced, add weights to each exercise.
If you’ve tried the exercises, let me know how you did. I’d love to hear from you! And in case you missed it, get my FREE Ski Trip Packing Checklist.
Save to Pinterest for Easy Reference

This post may contain affiliate links. This means that at no extra cost to you, I earn a small commission if you make a purchase. Thank you for your support!


[…] Do you have any other questions about the upcoming 2020/21 ski season at Whistler Blackcomb? Drop them in the comments below and I’ll answer them. In the meantime, get your legs ready with this 5 Exercises to Get You Ready for Ski Season. […]